WordPress Enable Error Log: A Teen’s Guide to Keeping Your Website Error-Free

Hey there! If you’re reading this, chances are you’re into WordPress and maybe even running your own website. That’s awesome! However, we can unexpectedly encounter various errors in WordPress. Our WP Error Expert AI tool can help you fix many errors. But we’ve got a trick up our sleeves called “error logging” that can help you figure out what’s going wrong and how to fix it. Let’s dive in and learn how to enable error log in WordPress, step-by-step.
Introduction: Why Error Logs Matter
WordPress is super popular for building websites because it’s user-friendly and flexible. But sometimes, things can go wrong. Maybe a page won’t load, or you see some weird error messages. That’s where error logs come in. Error logs are like a detective’s notebook—they tell you what went wrong so you can fix it. Today, we’ll learn how to enable error logging in WordPress to help you keep your site running smoothly. By following our guide on how to enable error logs in WordPress, you’ll be better equipped to handle any issues that pop up and maintain a high-performing website.
Enabling Debug Mode and Error Logs in WordPress
To start catching errors, we need to turn on something called Debug Mode. There are two ways to do this: using a plugin or editing a file called wp-config.php. Let’s check out both methods.
Get free WordPress & AI tips
Join 500+ readers. No spam, unsubscribe anytime.
1. Enabling Debug Mode Using a Plugin
Using a plugin is the easiest way to enable Debug Mode. Here’s how you do it:
- Step 1: Install and activate a plugin like WP Debugging.
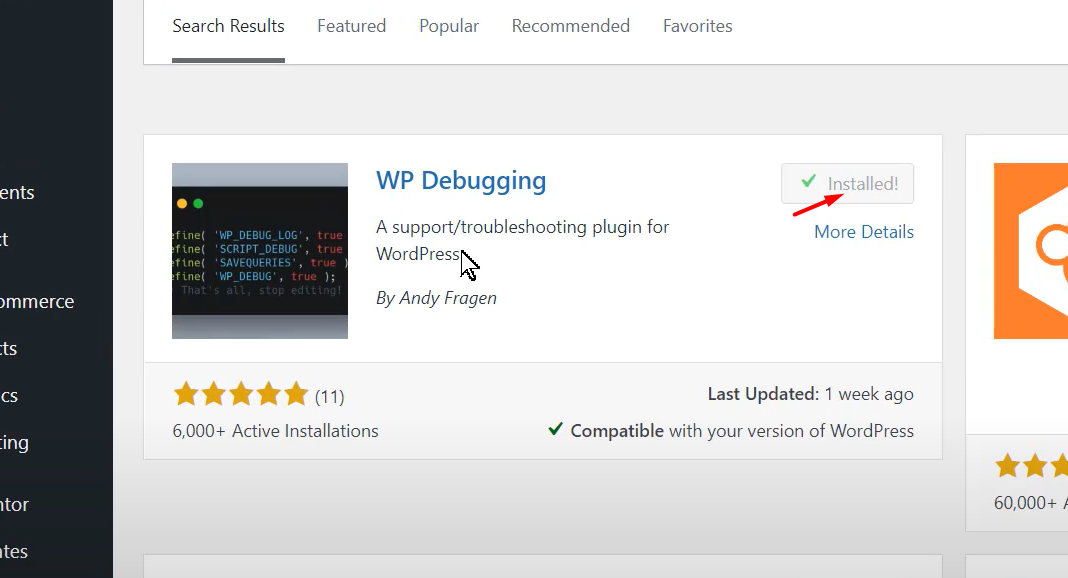
- Step 2: Go to the plugin settings and turn on Debug Mode. The plugin will take care of the rest!

This method is great because the plugin handles everything for you, and you get a nice interface to manage your error logs.
2. Enabling Debug Mode Manually
If you like getting your hands dirty with code, you can enable Debug Mode manually. Here’s what you need to do:
- Step 1: Open the
wp-config.phpfile in your WordPress installation directory. You can find it by connecting to your site using an FTP client or your hosting control panel. - Step 2: Add these lines of code to the file:
define('WP_DEBUG', true);
define('WP_DEBUG_LOG', true);
define('WP_DEBUG_DISPLAY', false);
@ini_set('display_errors', 0);
This code tells WordPress to log errors in a file called debug.log in the wp-content folder. Now, let’s learn how to check those logs.
Accessing and Reviewing Error Logs
Once you’ve enabled error logging, you need to know how to read those logs. Here’s how you can access and review your error logs.
1. Accessing Error Logs Manually
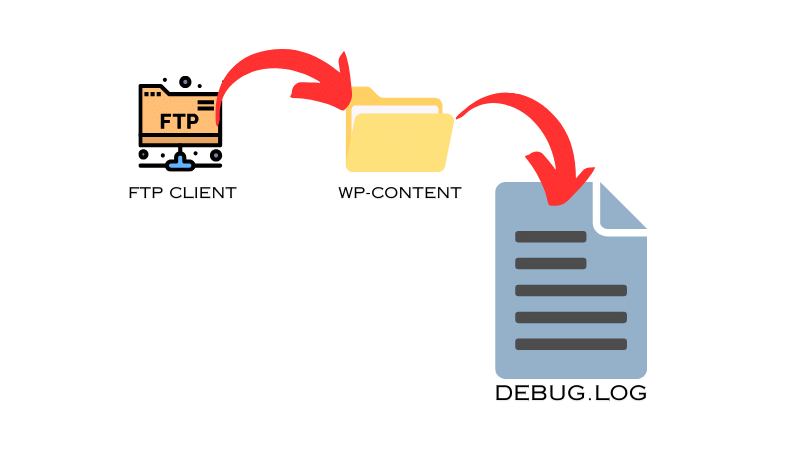
- Step 1: Connect to your website using an FTP client (like FileZilla) or your hosting control panel.
- Step 2: Navigate to the
wp-contentfolder and find thedebug.logfile.
- Step 3: Open the
debug.logfile to see the error messages. Each message will tell you what went wrong and where to find the problem.
2. Accessing Error Logs Using a Plugin
You can also use a plugin to access your error logs more conveniently. Here’s how:
- Step 1: Install a plugin like Error Log Monitor.
- Step 2: Go to the plugin’s settings to view and analyze your error logs.
Using a plugin makes it easier to keep an eye on your error logs without diving into files every time.
Conclusion: Keep Your Site Running Smoothly
Enabling error logging in WordPress is like having a superhero sidekick. It helps you spot problems and fix them before they cause trouble. By setting up error logs, you can keep your website running smoothly and make sure your visitors have a great experience.
So, go ahead and enable error logging on your WordPress site today. It’s a simple step that makes a big difference. Happy troubleshooting!